|
Due to the fact that you must design a rocket around its fuel, there are many reasons we need to test rocket fuel. Given this proposition, we made test rockets to test a small amount of fuel that we made in class. If you don't test a rockets fuel before hand, your rocket that took time and effort to build can easily be destroyed in seconds.
Looking Back Our first task during the experiment was to make the fuel that we would work with. The way this worked was by taking a chemical reaction we knew would create the desired results and scaling it down to a usable level. This process is called stoichiometry. Stoichiometry helps us convert moles (the way molecules are measured) and convert them into grams. After being converted into grams we can then derive a percentage of material that we need to make the desired chemical reaction happen. The chemical reaction that we wanted to take place in the lab was: SC12H22O11 + 48KNO3 ----> 24k2co3 + 36CO2 +55H2O + 24N2. After making our feud we then created our test rockets. This was a relatively simple process. We began by wrapping a piece of paper around a dowel rod to get the shape of our engine. We then used a tinfoil ball as the nose cap. After we finished this, we poured rocket fuel into the hollow space inside the tube of paper. We compressed the fuel the put another tinfoil cap in. We then drilled a hole through one of the caps so that we had a place to put a wick for ignition. My rocket worked very well as it launched over 50 feet into the air. Looking Beyond The way rockets work is through expansion of gasses. When the rocket fuel is burned, I turns from a solid to a gas state. Gas takes up much more space than solids do and for this reason the contents of the rocket become compressed. We then harness this compression by making it flow through an outlet so as to propel the body of the rocket. Looking Inward I got very desirable results as my rocket was one of the only rockets that got more than five feet above the ground. I was very proud of this as i did not know whether or not my rocket would be a success. I think what contributed to this was my careful compression of the rocket fuel inside the body of the engine. Looking Outward For this lab I worked with Liam yet again. As always we worked well and efficiently together. This resulted in a successful and quickly made project. I would work with Liam again on another project Looking Forward If I could do this again I would do two things to make my results more desirable. I would thicken the body of the engine so that it would be able to handle the burn of the rocket fuel. I would also widen the outlet for the gas so that I could get more initial energy from the take off. These two things would improve the already good rocket that I made. To continue this project I could continue on by doing more parts of the rocketry project. Overall I learned a lot about rocket fuel and rocket science by doing this project and it was a valuable learning experience. For this lab, we had to make a fairly simple battery. We were tasked with making it out of pennies and cardboard soaked in vinegar. We did this to illustrate the process of electricity. In class we learned about the different way that we humans harness electricity. We also learned about the processes of storing, transporting and creating electricity. This prompted us to then create our own batteries.
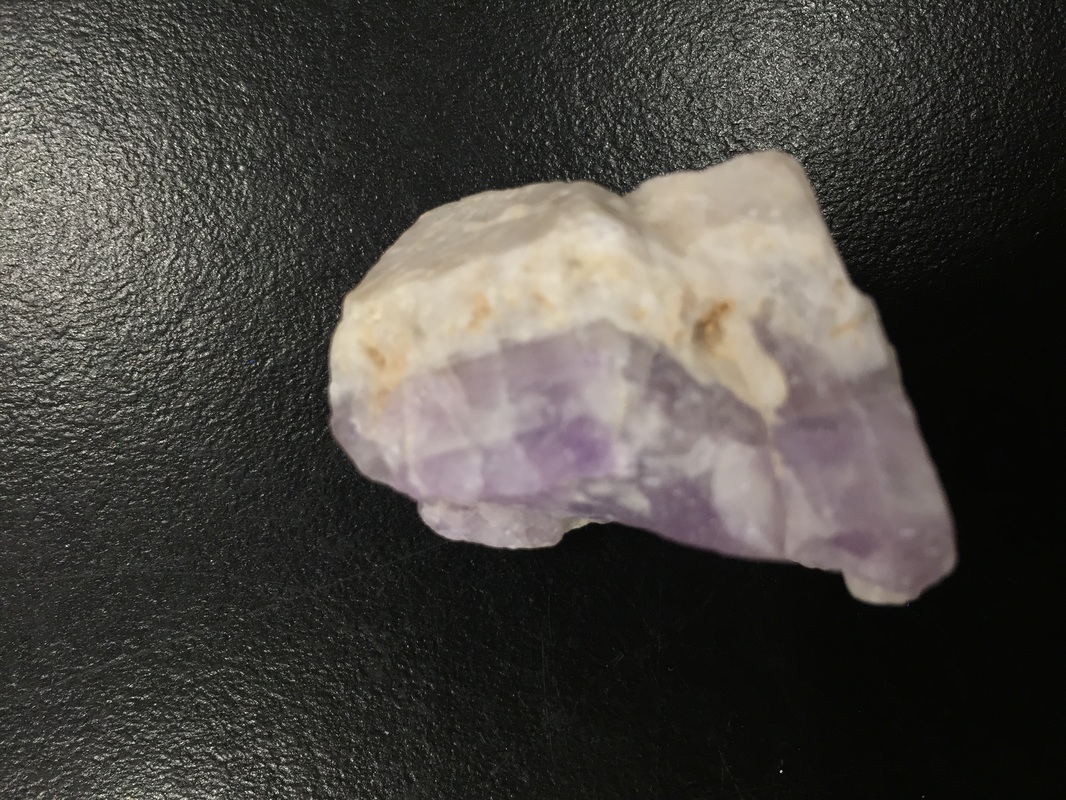
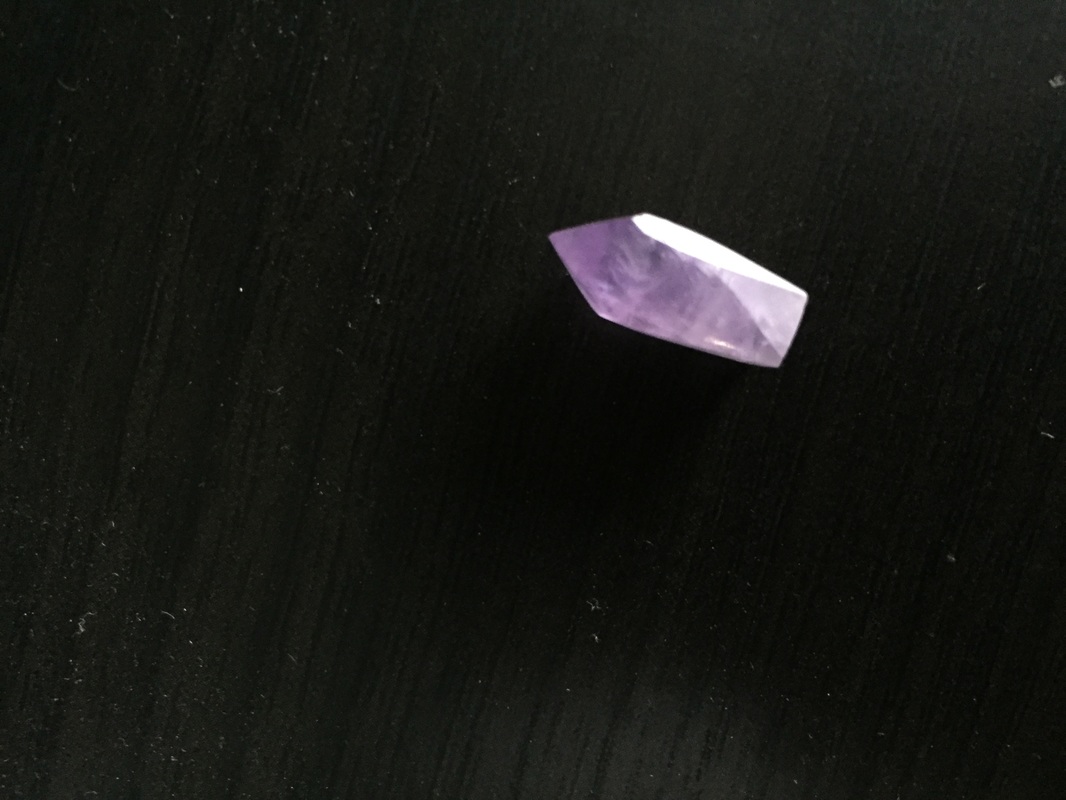
Looking Back Batteries generally have three different parts, The cathode, the electrolytes, and the anode. So knowing this, we knew that we had to make those three different parts for the batteries to work and for the electricity to flow correctly. the way we accomplished this was by using pennies for our anode and cathode. Since newer pennies have a zinc core and a copper skin, we ground one side of the penny down to its zinc core. This created our anode as the copper created the cathode. After this, we cut little cardboard pieces to the same shape as the pennies and soaked them in vinegar, these would act as the electrolytes. After the different pieces were fabricated we then assembled the battery. This was done by placing the copper end of one penny on top of a piece of tinfoil then placing the cardboard on top of that penny. We then stacked another penny copper face down on top of the cardboard. We continued this pattern of penny to cardboard until we had a minimum of at least 6 pennies connected. After this the battery would be ready and we would connect our LED light to check if the battery worked. The lab worked very well as my light lit up. It didn't light up as strong as it possibly could, but it still lit up. Looking Beyond The way that electricity works is that when one atom comes in contact with another atom and has electrons to give off. This exchange of electrons is what we know as electricity and we have learned how to use this action to our advantage. Knowing this, we created this with the copper and zinc in our battery. Looking Inward My battery indeed worked very well. I believe the reason this happened is because I made sure all my parts are made correctly. I made sure all of the pennies were completely ground down on one side to completely expose the zinc. I also thoroughly soaked the cardboard in the vinegar to make sure it would conduct the electricity correctly. These processes resulted in the creation of a successful battery that worked when connected to an LED Looking Outward While doing this project Liam and I worked together. Because grinding the pennies down was such a lengthy task, I would not have been able to do it without his help. We worked well together and created our battery in a timely manner. Looking Forward If I were to do this lab again I would do a couple of things to make my results more desirable. One thing I would do would be to add more pennies to the battery. I would do this because the more pennies, the stronger the current flowing through to the LED would be. For this reason, I would add more. I would also then secure my battery unit to the tinfoil better so that it would not fall apart. I would most likely also work with the same person as I know that we work well together and can keep each other focused on the task at hand. This lab taught me a lot. I learned how to create a battery out of common household items such as pennies and cardboard. This is valuable knowledge as today, practically everything is run by electricity. All in all this lab was a worthwhile experiment to do. The goal of this experiment was to make a piece of jewelry from a mineral. Over the course of a week I learned how to do this and then put my new skill to use and made a jewel out of an amethyst rock
Looking Back My task of making a jewel out of a rock went very smoothly. After working with a couple of different rocks and seeing how they reacted to the tools, I chose to work with amethyst. I did so because amethyst has a pretty color and is not as brittle as some other rocks. There were two main things that I had to do to be able to shape the jewel the way I wanted to. The first step was to roughly shape it with the table saw/grinder. The blade on the saw is diamond stunned and therefore very hard and cuts rocks easily. The machine needs to be lubricated with large amounts of water so that the blade does not wear down very quickly. To cut the rock, you have to press it onto the blade and then push it in a straight line to achieve the cut that you want to. After this process I moved to faceting on the lapidary machine. The lapidary machine is a flat wheel that rotates and is used as a grinding surface to take off excess material. I got my stone down to the shape I wanted it to be on the lapidary and then also polished it using the lapidary. To polish a stone on the lapidary, you simply change the wheel to a finer grit and use it normally. My experiment went very smoothly and I was able to make the jewel without any mishaps or problems Looking Inward After finishing this project, I am very happy to say that I got desirable results. The jewel turned out practically flawless and glistens in the sun like a jewel you would buy at a store. This however did not come easily. I took hours of bending over the grinding wheel to do this and I think I preformed well while doing this project. Looking Outward I did this project by myself, however I did have people help me along the way. Jiapsi instructed me on the use of the tools that are used to shape the rocks. His help was valuable and I would not have been able to finish my project without it. I enjoyed working alone but it was also a little bit harder to complete tasks without help from another person. Looking Forward I think that if I were to do this project again I would not have done much differently. The one thing that I would do differently is take a little bit more time on the rough shaping with the saw so that I would not have to grind away so much material on the lapidary. I would also take my time while grinding the stone down so that I could make sure the angles were as crisp as I wanted them to be. Allin all, this experiment was a valuable learning experience for me. I learned how to use new tools and I also learned about the properties of different rocks and how to work with each individual one. If I were to continue with this project, I would make more jewels of the same color so that they could all be mounted on a piece of jewelry together. 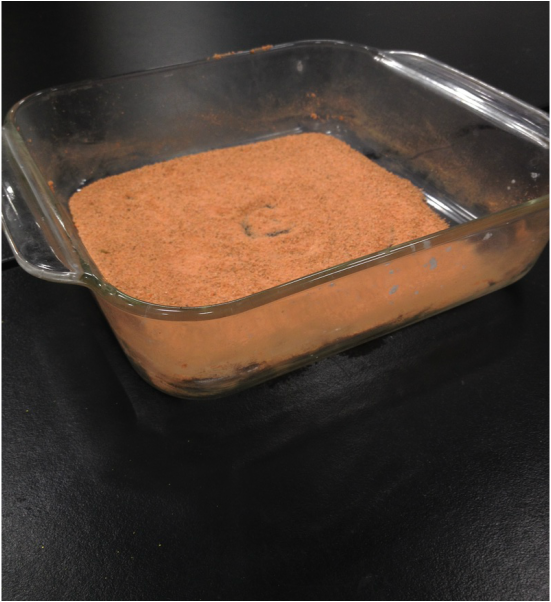 We did the magic sand lab in class so as to learn about how molecules bonded together and what created those bonds. We learned about two different types of bonds; Ionic bonds and covalent bonds
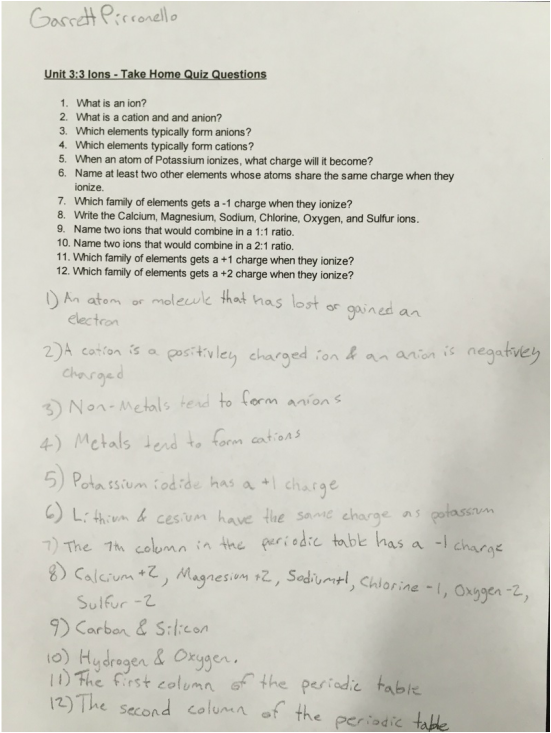
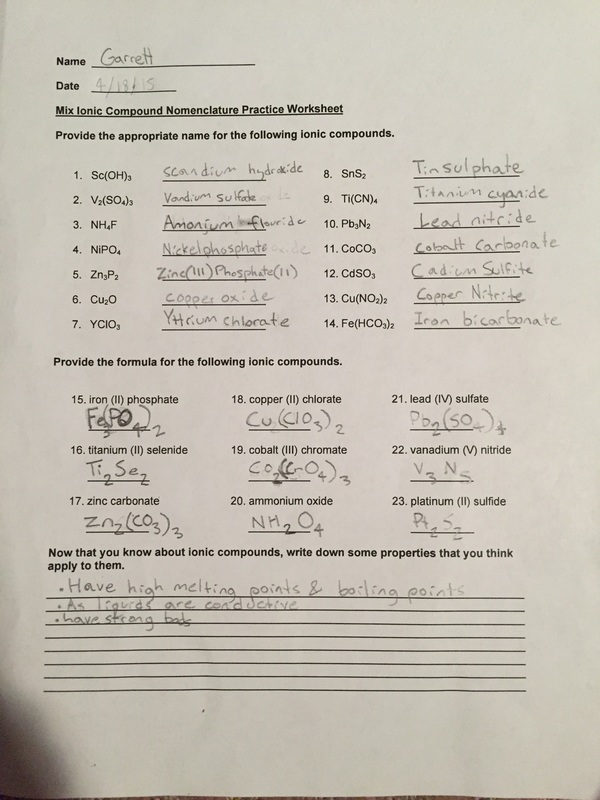
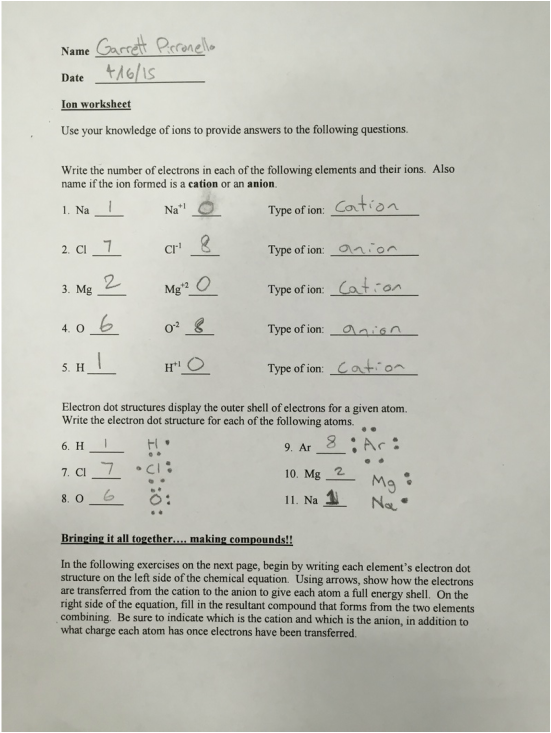
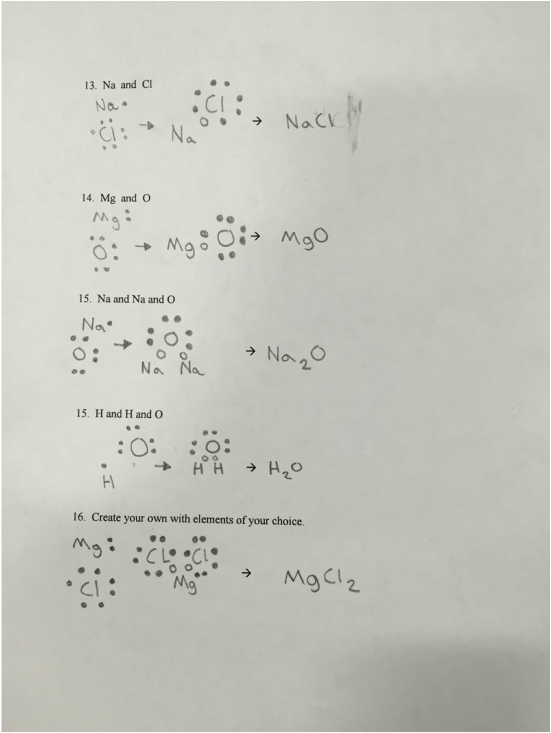
When metals and non-metals bond together, it is called an ionic bond. In class, we learned that atoms bond together due to instability in their charges. This instability is present in atoms without a full shell, or 8 outer electrons. These outer electrons are called valence electrons and every element must have a full outer shell to become stable. This results in atoms with less electrons giving up their electrons to atoms with more electrons. The atom with less electrons then becomes positively charged as it gave up its electrons and the other atom has a negative charge because it took on the extra electrons. Because of these positive and negative charges, a magnetic bond is then created between the two atoms. The magnetic bond creates polarized molecules, one end being positive and the other negative. Due to this fact, Ionic compounds are structured as crystals because of the polarized molecules. The crystalline structures form because the oppositely charged ends of molecules are attracted to each other. This is also the reason why some objects are repelled by ionic compounds. The polarized sides of the molecule will push away magnetic charges that are not the same as its own. The magnetic charges in these types of molecules makes ionic compounds very strong Atoms also bond together in a different way, by creating covalent bonds. A covalent bond is formed not by atoms loosing their electrons to another atom, but instead by two or more atoms sharing electrons with each other. However, covalent bonds are not as strong as ionic bonds because no magnetic force holds the the molecules together in a covalent compound. Looking Back The objective of our experiment was to create magic sand, or sand that did not dissolve in water. We took a container full of normal sand and then sprayed the sand with fabric protector to make the sand water-proof. We then mixed the spray up in the sand to thoroughly coat every grain of sand in the container. after this we then poured water into the container to test out if it worked. The experiment was a success and our magic sand did not dissolve in the water. But how did this work? Looking Beyond The reason sand usually dissolves in water is because it is an ionic or polar compound just like water. Polar compounds dissolve compounds of the like which is why sand would normally dissolve in water. This means that non-polar substances are hydrophobic and do not dissolve in water. To do the lab, we needed to make the sand non-polar so that it would not be dissolved in the water. The way we accomplished this was by throughly coating the sand with a fabric protector which was a non-polar substance. This gave the sand an outer layer that was non-polar and thus gave it the ability to not dissolve. Looking Inward I think that we got desirable results from this lab as we accomplished what we had intended to. This happened because we had the right materials and the knowledge to be able to do the lab. we also mixed the fabric protector in correctly and thoroughly so as to make sure the sand would be completely coated in it. I believe this contributed to our successful results. Looking Outward I worked in a group with Liam, Carlos, and Zion. I think we worked well together. We finished the lab on time and without any incidents whatsoever. Even though we worked well together in this lab, I still prefer smaller groups as I feel I work more efficiently in them. Looking Forward If I were to do this lab again i wouldn't do anything differently as the lab worked out just as we hoped it would. |
MeHi I'm Garrett Archives
May 2015
Categories |

 RSS Feed
