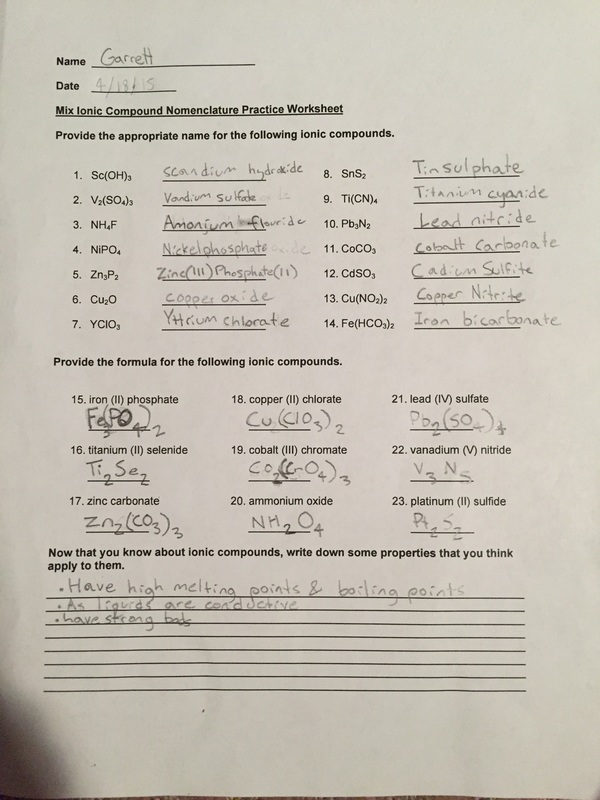
 We did the magic sand lab in class so as to learn about how molecules bonded together and what created those bonds. We learned about two different types of bonds; Ionic bonds and covalent bonds
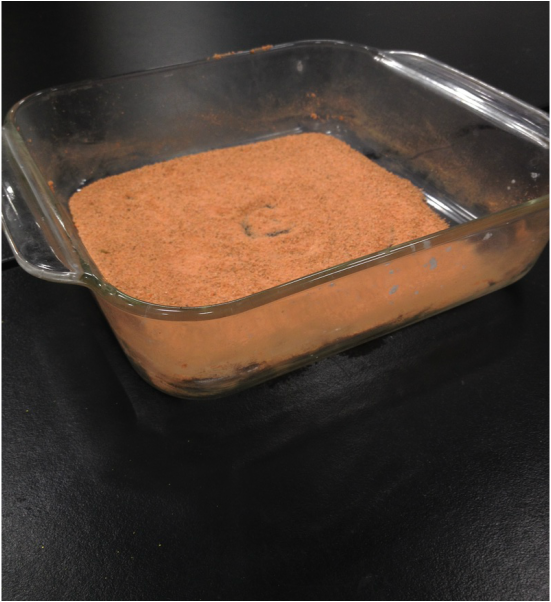
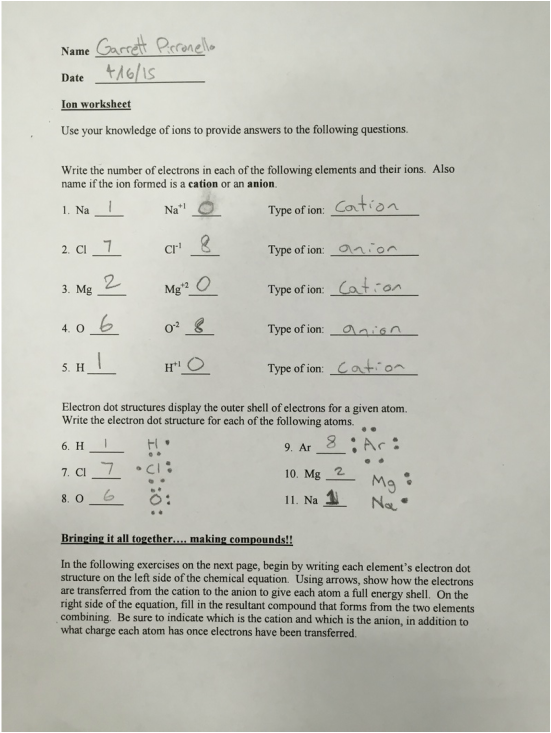
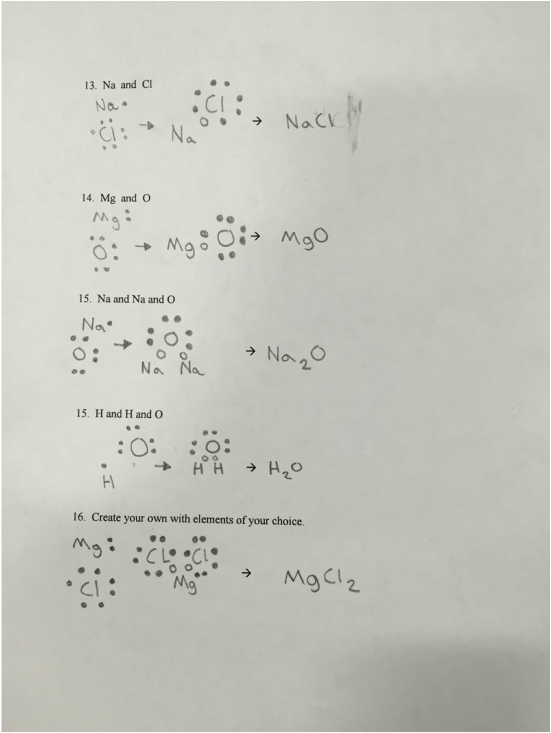
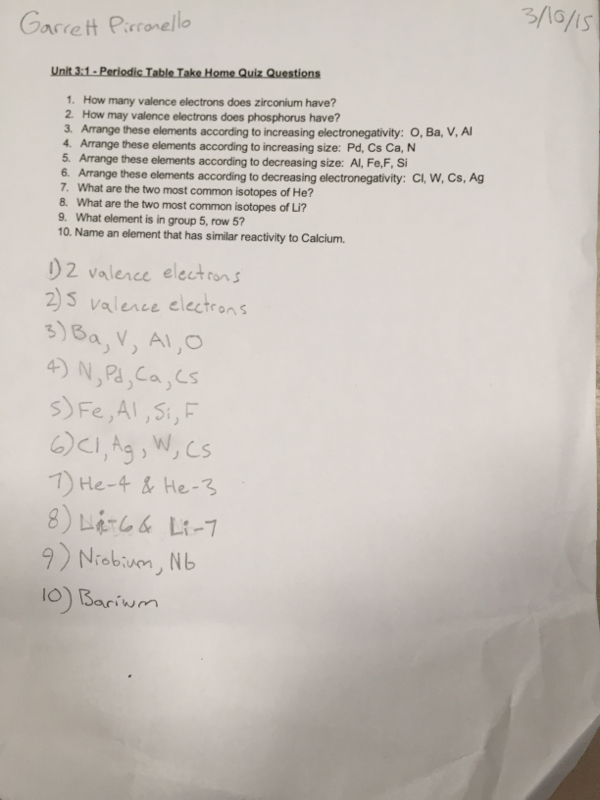
When metals and non-metals bond together, it is called an ionic bond. In class, we learned that atoms bond together due to instability in their charges. This instability is present in atoms without a full shell, or 8 outer electrons. These outer electrons are called valence electrons and every element must have a full outer shell to become stable. This results in atoms with less electrons giving up their electrons to atoms with more electrons. The atom with less electrons then becomes positively charged as it gave up its electrons and the other atom has a negative charge because it took on the extra electrons. Because of these positive and negative charges, a magnetic bond is then created between the two atoms. The magnetic bond creates polarized molecules, one end being positive and the other negative. Due to this fact, Ionic compounds are structured as crystals because of the polarized molecules. The crystalline structures form because the oppositely charged ends of molecules are attracted to each other. This is also the reason why some objects are repelled by ionic compounds. The polarized sides of the molecule will push away magnetic charges that are not the same as its own. The magnetic charges in these types of molecules makes ionic compounds very strong Atoms also bond together in a different way, by creating covalent bonds. A covalent bond is formed not by atoms loosing their electrons to another atom, but instead by two or more atoms sharing electrons with each other. However, covalent bonds are not as strong as ionic bonds because no magnetic force holds the the molecules together in a covalent compound. Looking Back The objective of our experiment was to create magic sand, or sand that did not dissolve in water. We took a container full of normal sand and then sprayed the sand with fabric protector to make the sand water-proof. We then mixed the spray up in the sand to thoroughly coat every grain of sand in the container. after this we then poured water into the container to test out if it worked. The experiment was a success and our magic sand did not dissolve in the water. But how did this work? Looking Beyond The reason sand usually dissolves in water is because it is an ionic or polar compound just like water. Polar compounds dissolve compounds of the like which is why sand would normally dissolve in water. This means that non-polar substances are hydrophobic and do not dissolve in water. To do the lab, we needed to make the sand non-polar so that it would not be dissolved in the water. The way we accomplished this was by throughly coating the sand with a fabric protector which was a non-polar substance. This gave the sand an outer layer that was non-polar and thus gave it the ability to not dissolve. Looking Inward I think that we got desirable results from this lab as we accomplished what we had intended to. This happened because we had the right materials and the knowledge to be able to do the lab. we also mixed the fabric protector in correctly and thoroughly so as to make sure the sand would be completely coated in it. I believe this contributed to our successful results. Looking Outward I worked in a group with Liam, Carlos, and Zion. I think we worked well together. We finished the lab on time and without any incidents whatsoever. Even though we worked well together in this lab, I still prefer smaller groups as I feel I work more efficiently in them. Looking Forward If I were to do this lab again i wouldn't do anything differently as the lab worked out just as we hoped it would. 
The rocket was designed to be able to withstand air pressure of around 100 psi. With this in mind I made the body long so as to distribute the stress to multiple places. I also taped over the main body of the rocket to serve as a cap for the air. I then taped the nose cone on over the cap and provided an extra layer of capping so that air wouldn't escape. I also put four fins on the rocket that were approximately 5.5" long. These fins would help to stabilize the rocket while it was in flight. The finished product turned out very much like the design.
When my rocket was launched, it went up to around 200 feet in the air. It went up high into the air with a mostly straight up trajectory while using the fins. The best part about launching it was that it did not blow up on the launch pad. The rocket worked very well other than the fact that I think I could get a little bit more height out of it. I also learned that I need to be a little bit more mindful of the wind and trajectory of the rocket so that they stay inside the field. I think that I need to change a couple of things on the rocket based on the critiques that my three peers gave me. Liam critiqued my rocket and told me that the main body of the rocket was too tight around the launcher. Next build I will take this into account as when the rocket was taking off, it experienced drag due to friction with the pvc pipe. Chase and Carlos also critiqued my rocket and they both came to the consensus that my rocket was too heavy and thus would not go as high as possible. I think this is very true based on the fact that I used way too much tape. If the rocket had been lighter I could have gotten it to go up way higher. Introduction I would like to make armor out of bronze that I will melt down, pour into sheets, then hammer the sheets into the shape of the armor that I would like to make. Metal has for a long time been the choice for weapons and armor because of its properties. It is malleable, dense and strong. Because of its malleability it can be formed into different shapes. This allows it to take the form of the human body which is why it is used for armors. These armors made out of metal are resistant to blunt trauma and also to piercing blows. Safety Considerations
Materials
Execution I will initially melt my copper and tin in the furnace inside of the fume hood, I will then poor the copper/tin mixture into a mold that I make for a sheet of metal. The mold will be made out of fired and hardened clay and will have a thin cavity in the middle to allow for the metal to be poured. The metal will be melted inside a crucible that I can then pick up with tongs and pour. After I make the sheet metal I will then cut out the dimensions I need to make my armor, then will hammer it to the angles that I will need to to make the armor. The excess metal will be re-melted and re- used. I will make sure that the crucible is clean by heating and pouring out all the metal inside of it. I will document my experiment by taking pictures along the way. Although I planned my experiment around making armor, I found that that would be much more time consuming than I thought. Instead I just opted to make a bronze ingot as that requires less time and man power to create. Bronze melts at a very high point(around 2000 degrees Fahrenheit) and because of this it is very time consuming. Looking Backward After I decided to cut my project down to just making the metal, my goals were much more attainable. To the new standard of making an ingot, my project turned out really well. Making an ingot out of the bronze was still difficult. The pieces of bronze and tin were put inside the oven for three hours at 2100 degrees Fahrenheit. When you opened up the oven, being within inches of it made you feel extreme heat. The oven glowed orange and so did the metal inside of the oven Looking Beyond On a molecular level the way tin and copper melt is the same as any other substance. They have a high melting point. Copper melts at 1984 degrees Fahrenheit and tin at 449 degrees. When they melt they become a liquid and the particles separate. They have more space and move around and act as any other liquid would, taking the shape of their container and retaining the same volume. Looking Inward I think that I got desirable results from my experiment. I got mostly desirable results with the ingot being strong and of a good color. The only thing that wasn't desirable was a small stress fracture in the ingot. I believe that the reason this happened was because there was a large concentration of tin in a single area. Too much tin in a bronze alloy can make it too brittle and thus lead to stress fractures. I can fix this next time by more consistently mixing the tin and the bronze together and also by making sure the ratio between the tin and the copper is right. The correct ratio is ten parts copper to one part tin. Looking Outward Although I did not work with a partner for this experiment I think that I like working with a team better than working alone. The reason for this being that: when I have a partner who works diligently, they keep me on check and I can complete my work quicker and do better work. Looking Forward If I were to do this project again I would definitely want to mix my molten metal more to allow it to alloy more evenly. This would require me to let it melt in the oven for longer as every time I mix it, it would lose a lot of heat. Based on my experience in this lab and past work I would chose to work with Liam again because I saw that when I worked with him, we both did better work in a more timely manner. After doing this lab I think that I could continue in the direction I had initially planned to go. I could make different shapes and things out of the metal and gain more metal working experience. Take Aways Making a second ingot at a much higher temperature than my last ingot allowed me to gain much more experience in working with metals. I gained experience on how to use metal working tools like tongs, stirrers and heat gloves. I also learned that you need to make sure your tools are of good enough quality to be able to handle the heat that is generated by the metal and oven. |
MeHi I'm Garrett Archives
May 2015
Categories |
 RSS Feed
